
The Last Caretaker · Guide
Update 6: Getting Started with Transfer Gates, Cold and North Bastion
Prepare for your first trip to North Bastion: the Transfer Gate, a packing list, heating and practical tips – without story or puzzle solutions.
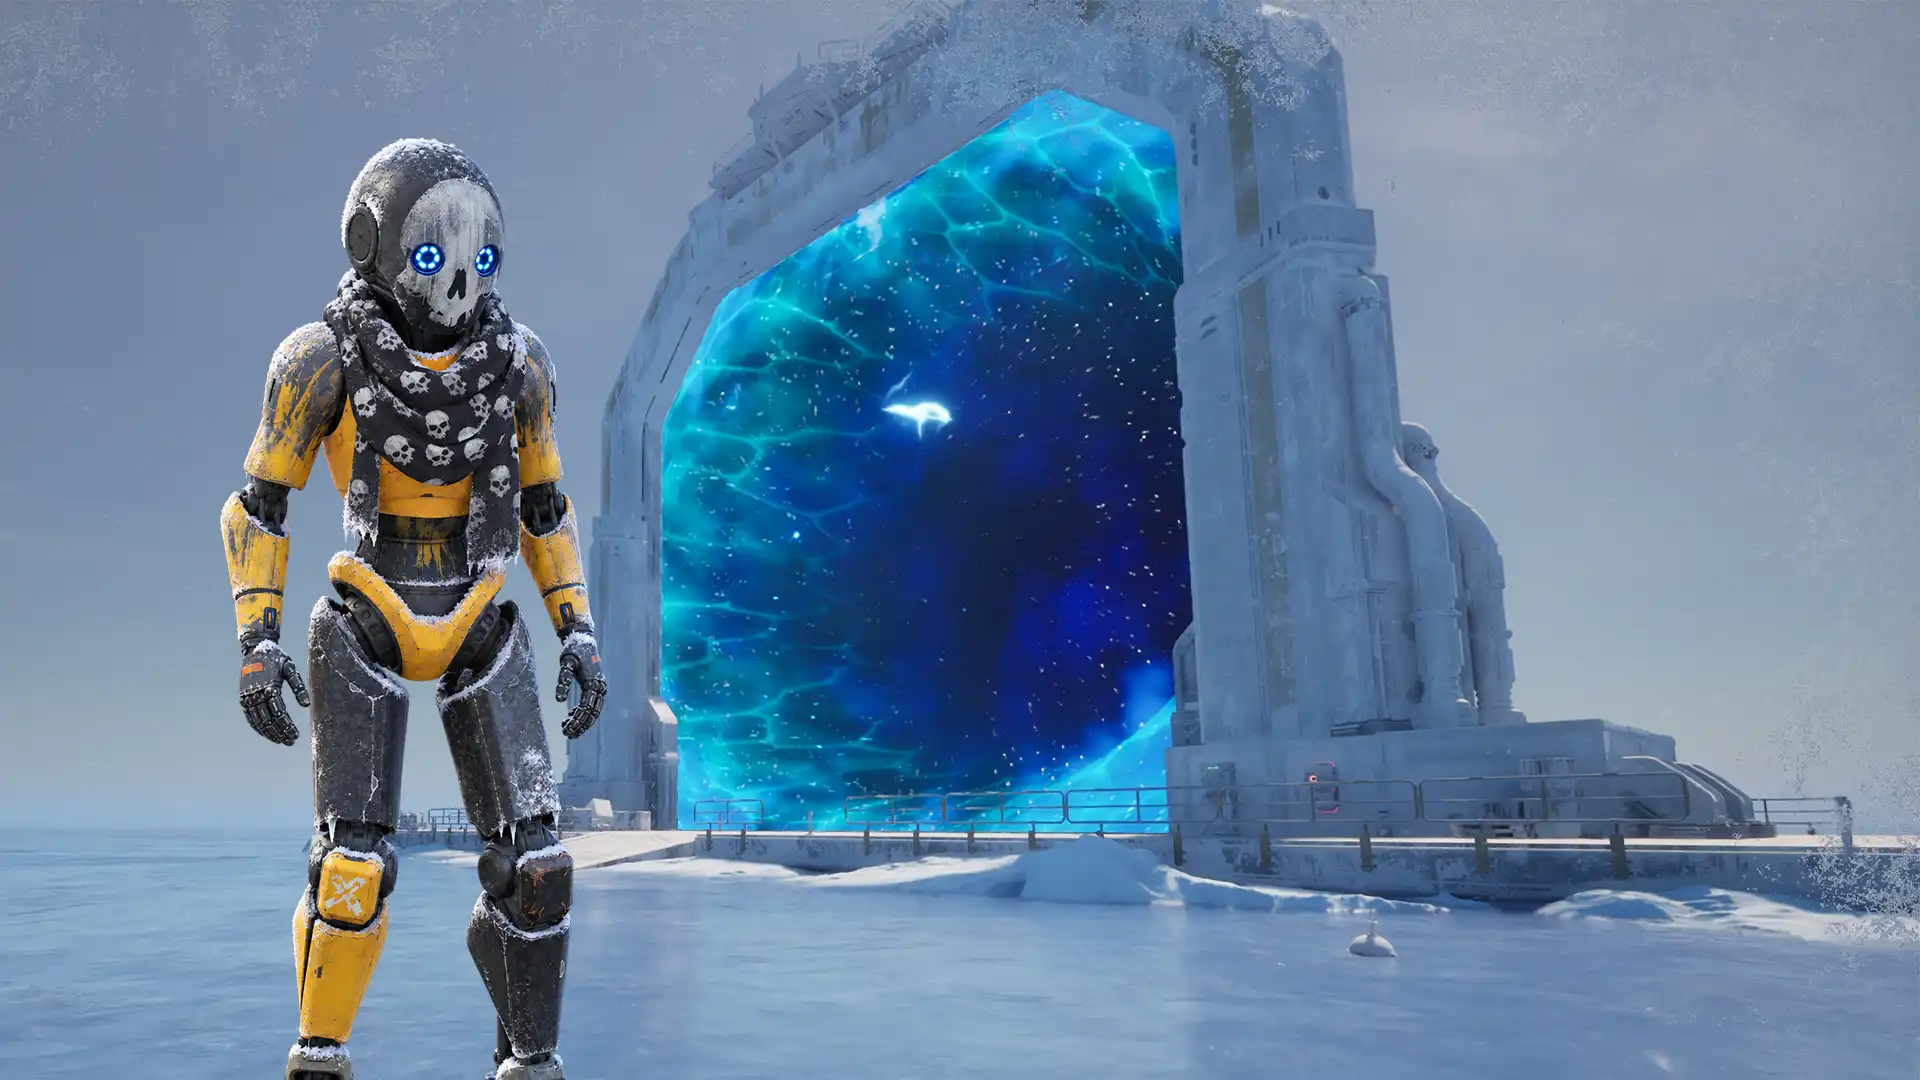
Your first trip to North Bastion starts with preparation: you need access to the Transfer Gate, enough equipment and, above all, reliable heating. The cold is more than an effect around the edge of the screen – without protection, you lose health.
This guide covers the essential first steps and tips from my own trips. The story, puzzles and individual quest solutions are left for you to discover.
Watch the starter guide on YouTube (German) ↗Quick facts
- Starting point
- Lazarus ComplexThe room above the main entrance and the Transfer Gate on the roof
- Preparation
- Battery, cables and building materialsBring Electric Cables, Gas Cables and Water Cables
- Heating
- Methane + fresh water → steamFeed steam from the boiler to the heaters
- On the move
- FLO TH-5 Local Heater on your backHeat it before leaving; the stored heat only lasts for a limited time
How to reach the new region
The new quest chain does not simply start when you load the update. Head to the repurposed room above the main entrance of Lazarus Complex. Entering that room starts the first quest.
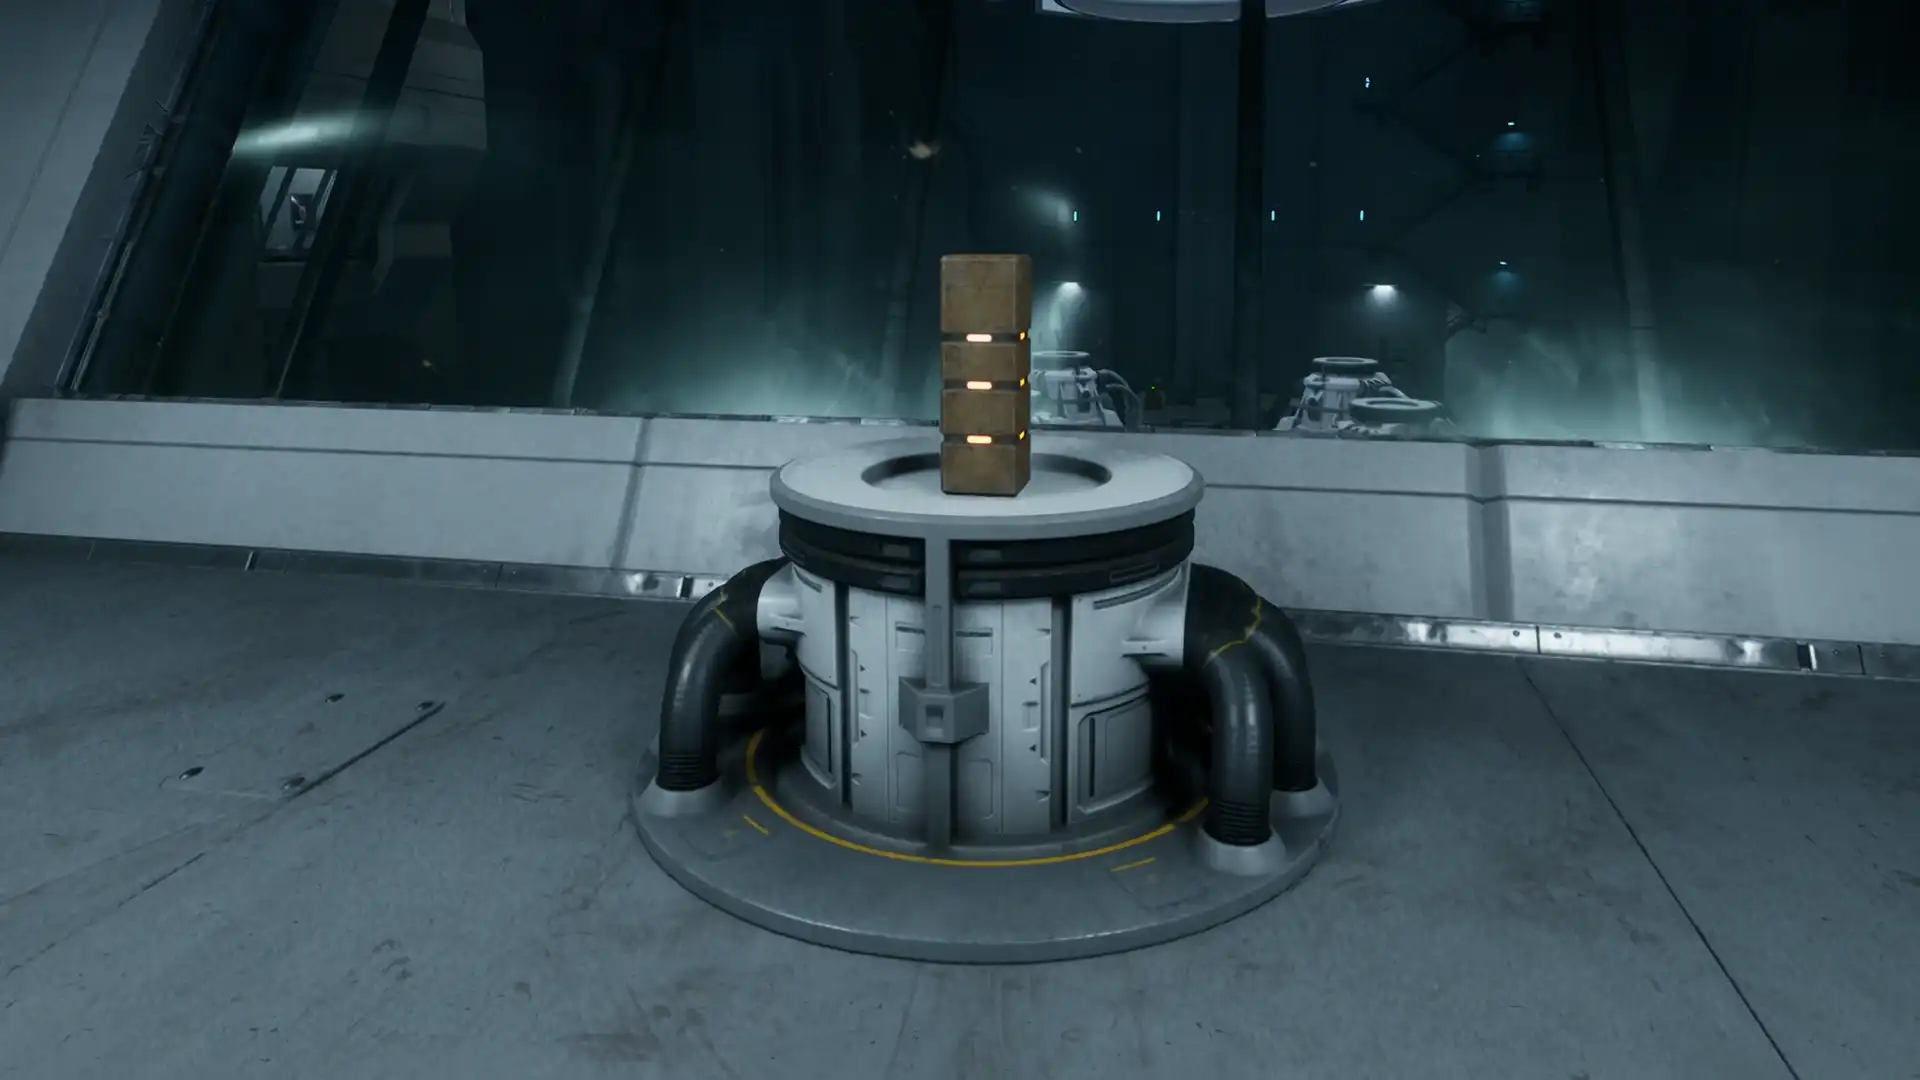
Find the Continuity Token, scan it and then fabricate a copy. Take the token to the Transfer Gate on the roof.
Power and Transfer Gate opening duration
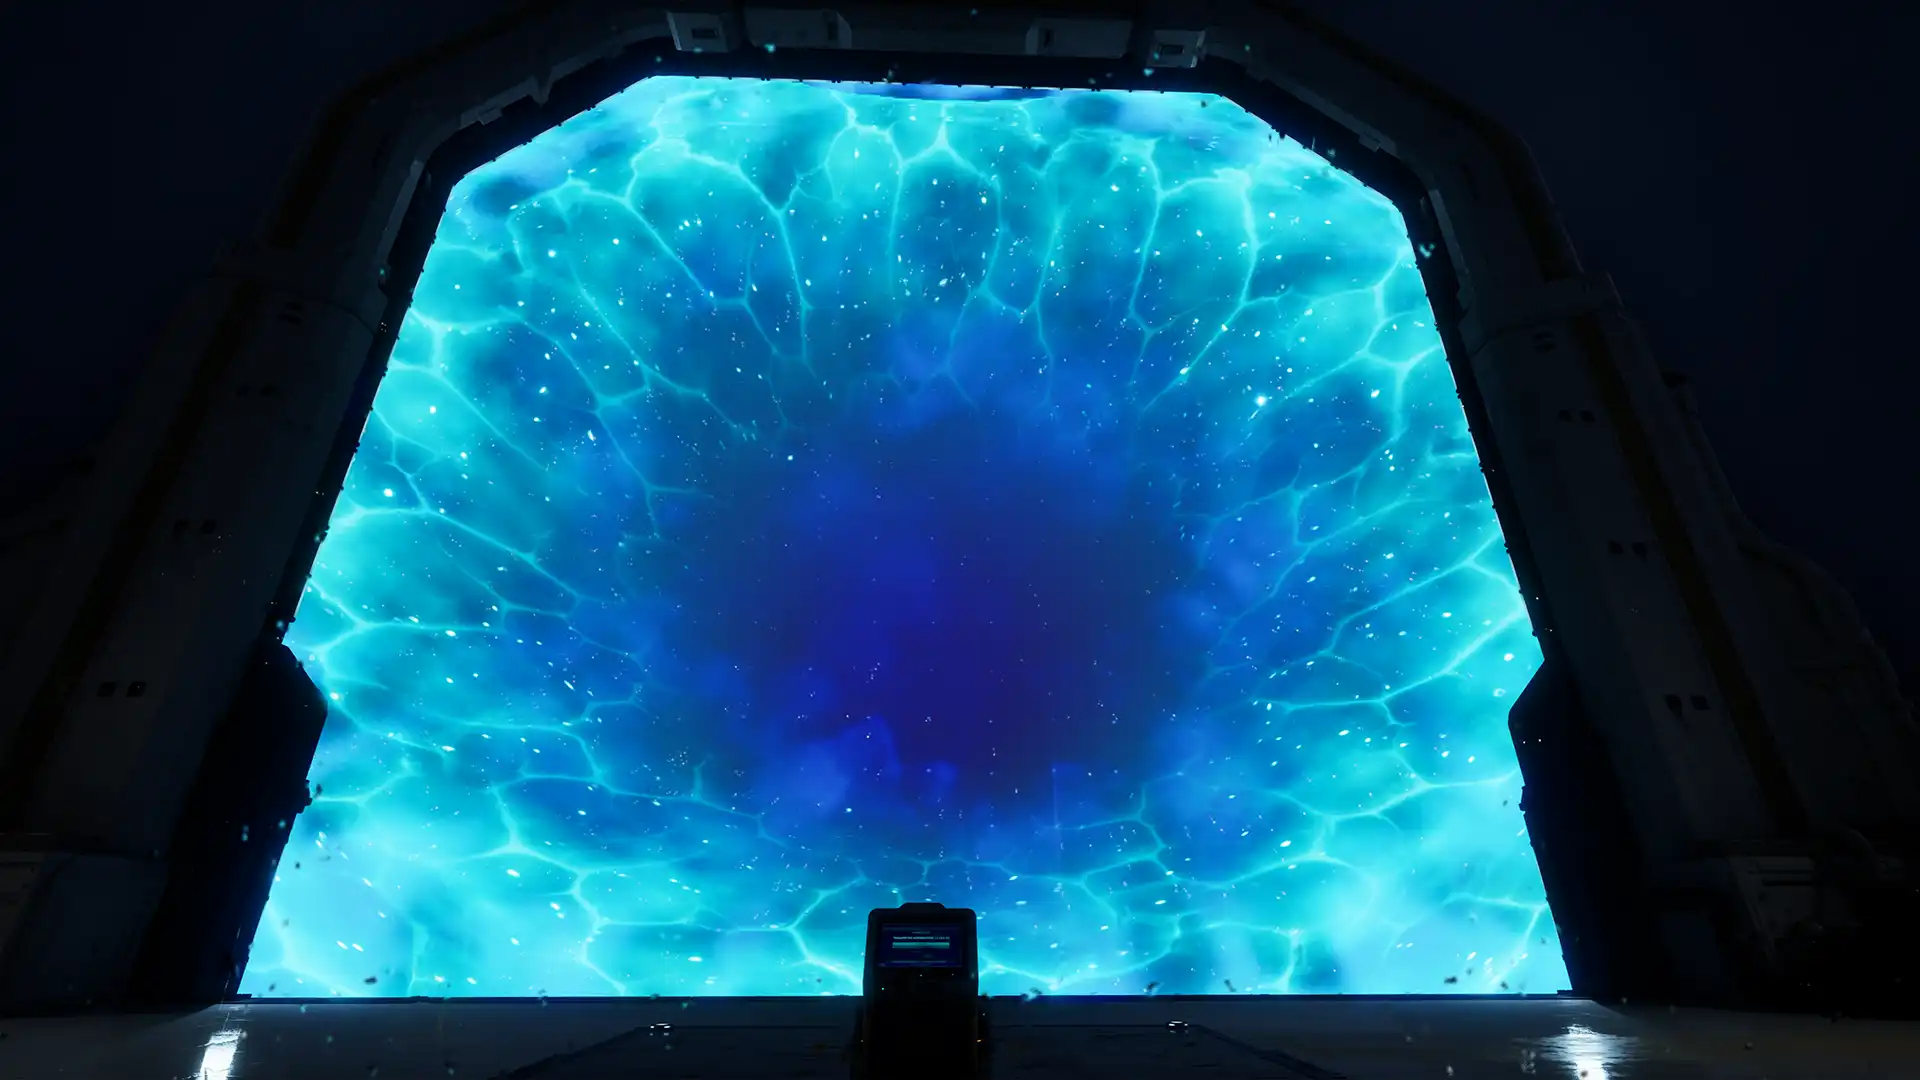
The gate needs a lot of energy. How long it stays open depends on how much you charge it beforehand. My tests produced these results:
| Charge | Opening duration |
|---|---|
| 216 kWh – minimum charge for an opening | 45 seconds |
| 557 kWh – maximum charge | 3 minutes |
Between those values, I observed the opening duration increasing linearly with the charge. Plan around whether you only want to cross yourself or also take a larger amount of equipment.
Get everything ready at the gate before opening it. You can throw items through the open portal; you do not need to carry every piece through individually.
Returning to the original world
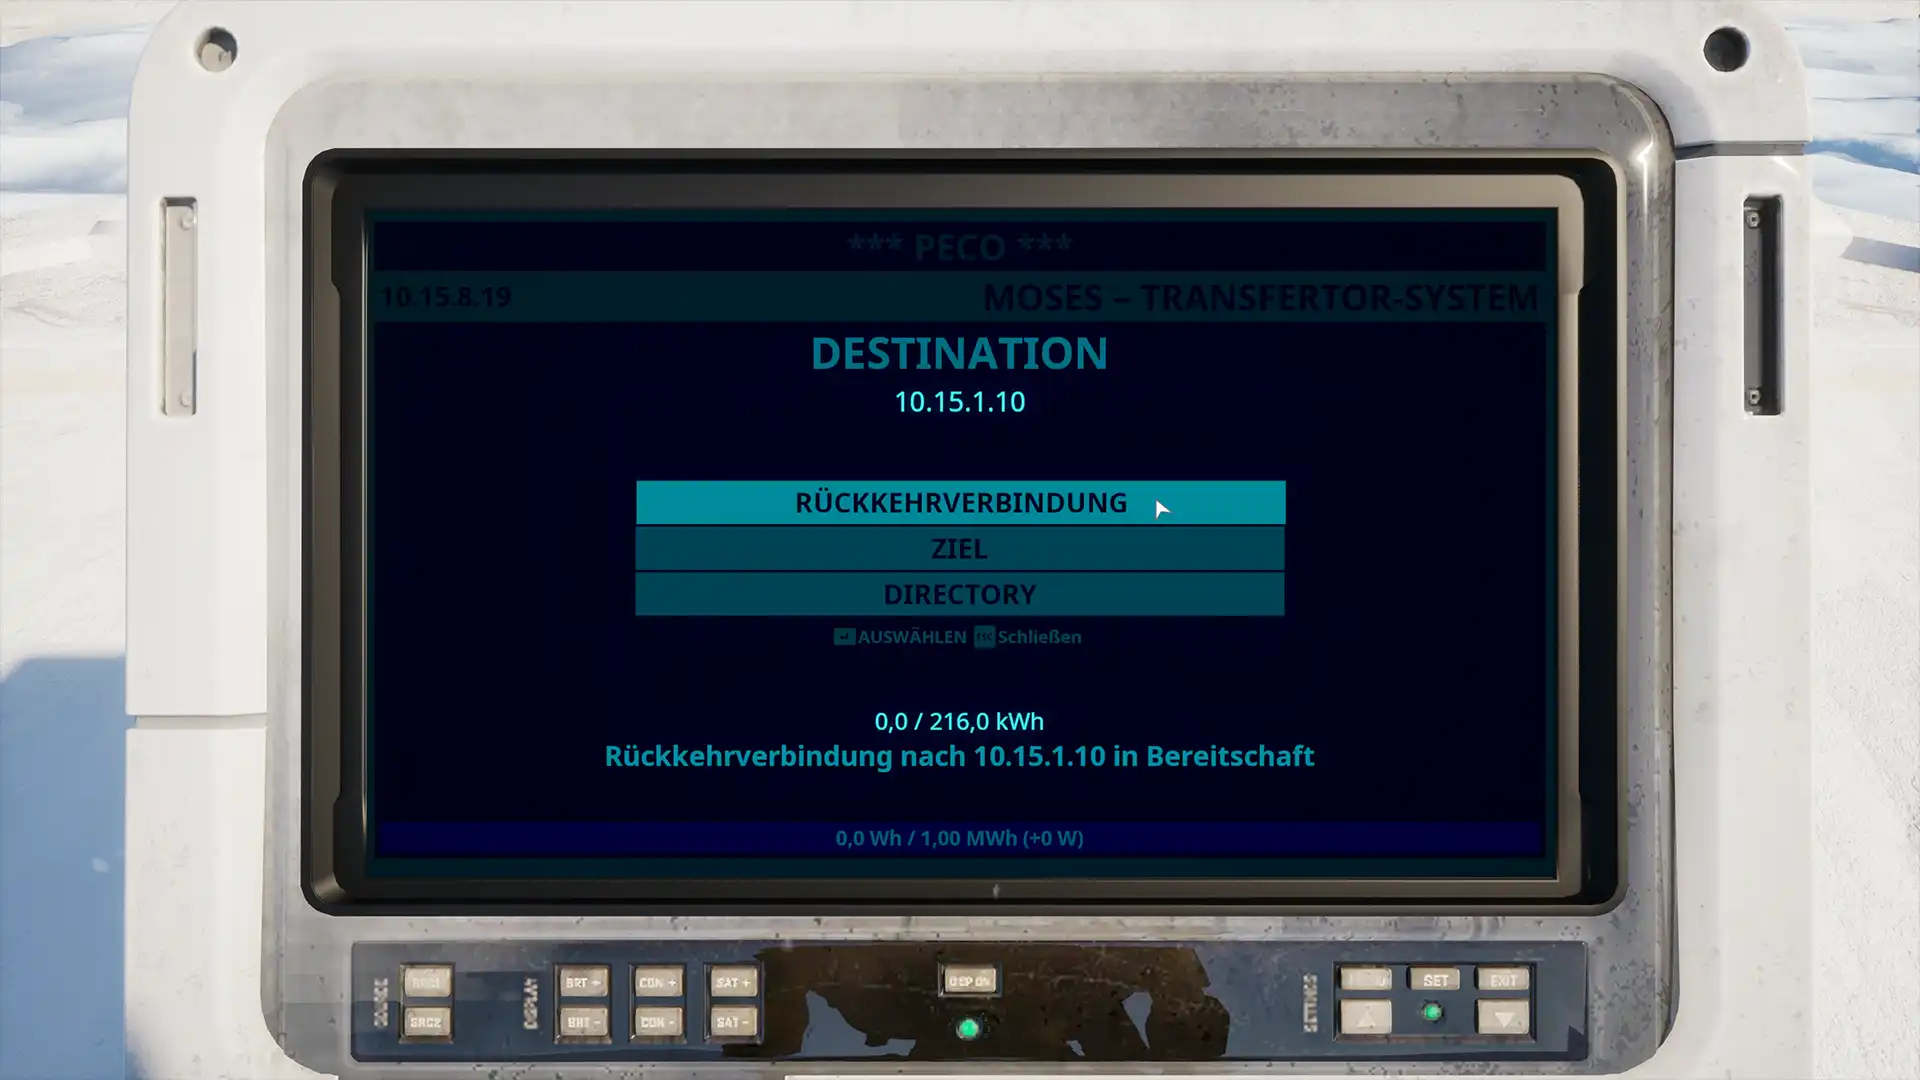
The destination terminal has a return function. You can use it to establish the return connection without first building a separate power supply for the gate on the other side.
Packing list for your first trip
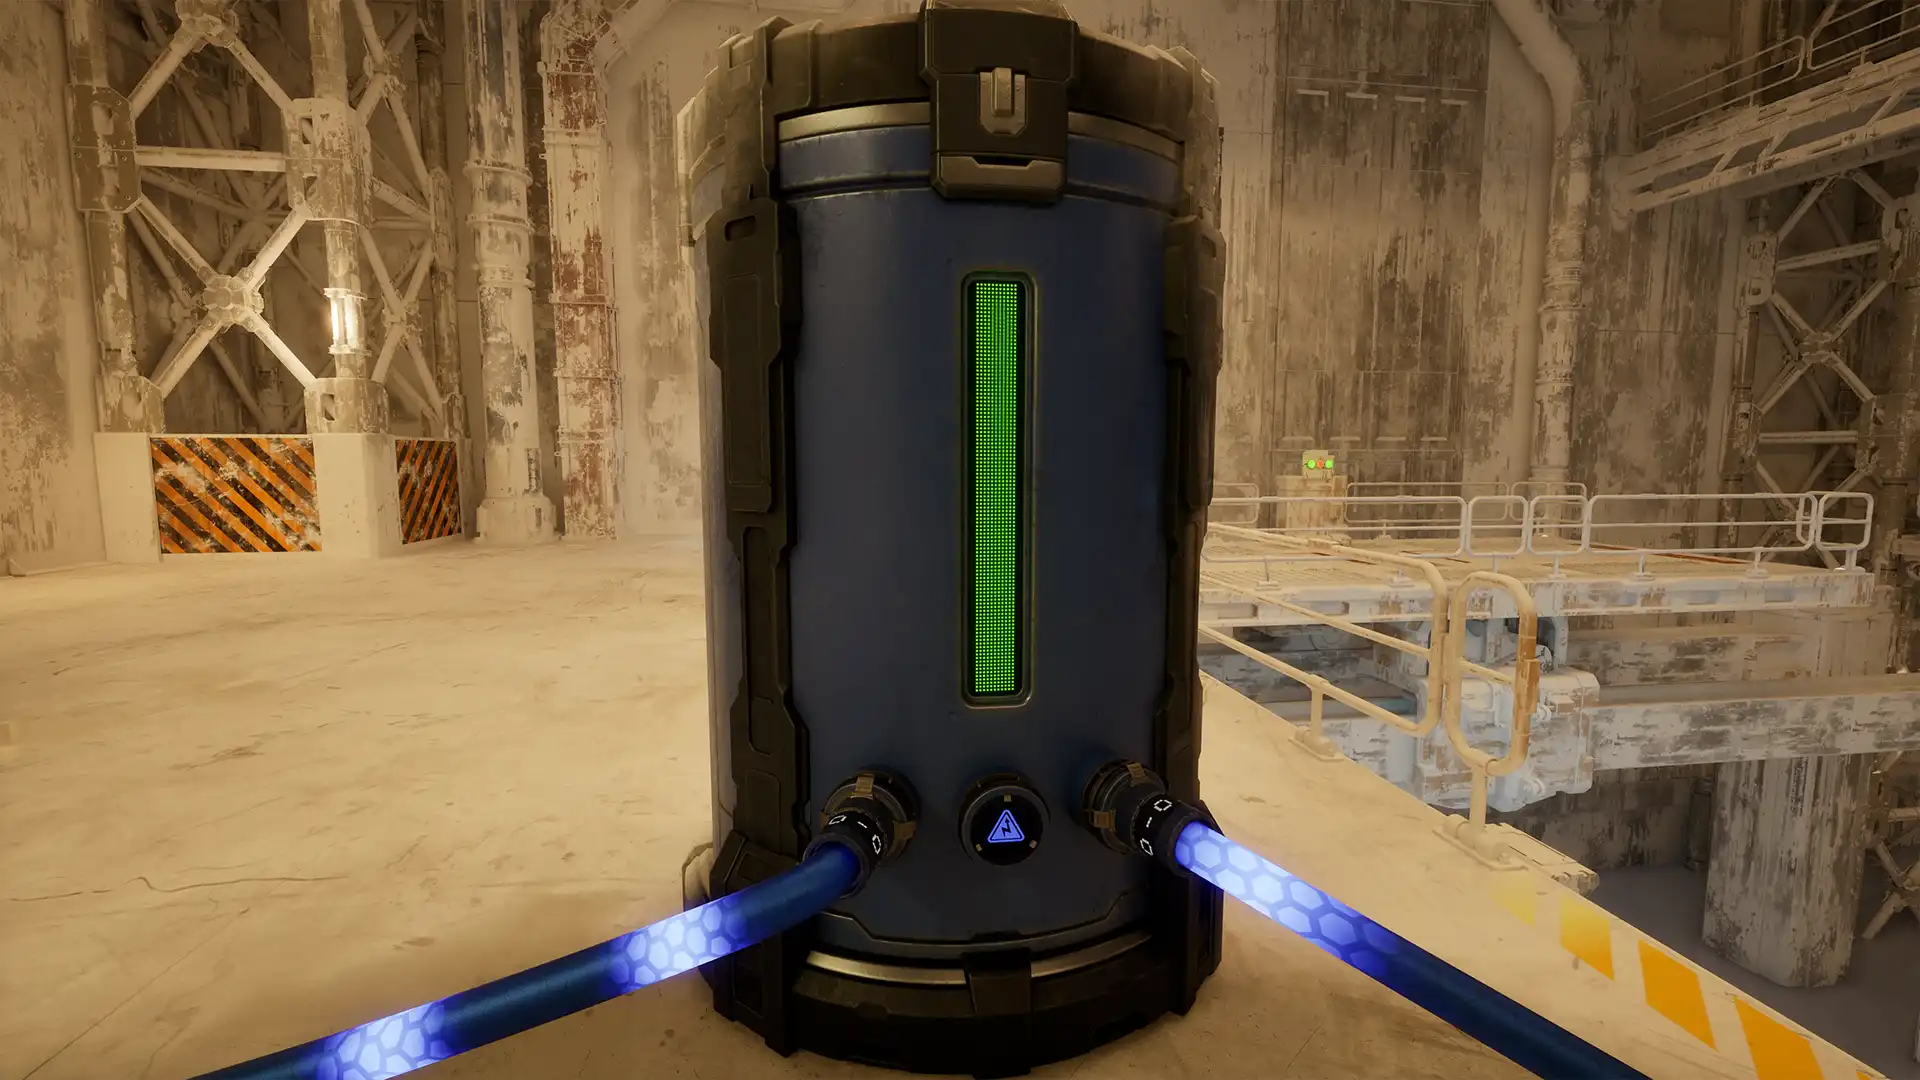
My recommendation: take at least a Medium Battery, preferably a Bulk Battery, different cables and plenty of building materials. You will want to set up utilities at the first outpost – storage and some reserves save unnecessary return trips.
| Bring | What for? |
|---|---|
| Medium Battery or Bulk Battery | Set up power at the first outpost |
| Electric Cables | Supply devices with electricity |
| Gas Cables | Transport methane and, later, steam |
| Water Cables | Connect the water supply to your devices |
| A selection of all resources, especially plenty of Iron and Plastic | Fabricate more cables and parts on site; Iron and Plastic are needed most often |
| Parts for a Water Purifier and Fabricator | Provide fresh water and make setting up on site easier |
| Enough ammunition and a Flamethrower | Equip yourself for the trip; the Flamethrower also helps clear ice blockages |
How much you need depends on what you want to build. Bring building materials even if you have already packed ready-made cables. It is frustrating to be missing just the Plastic for one more connection.
You can also take the Salvage Gyro. Further down, I explain how I managed to use it in the cold – and why you still need to be careful.
First stop: the outpost
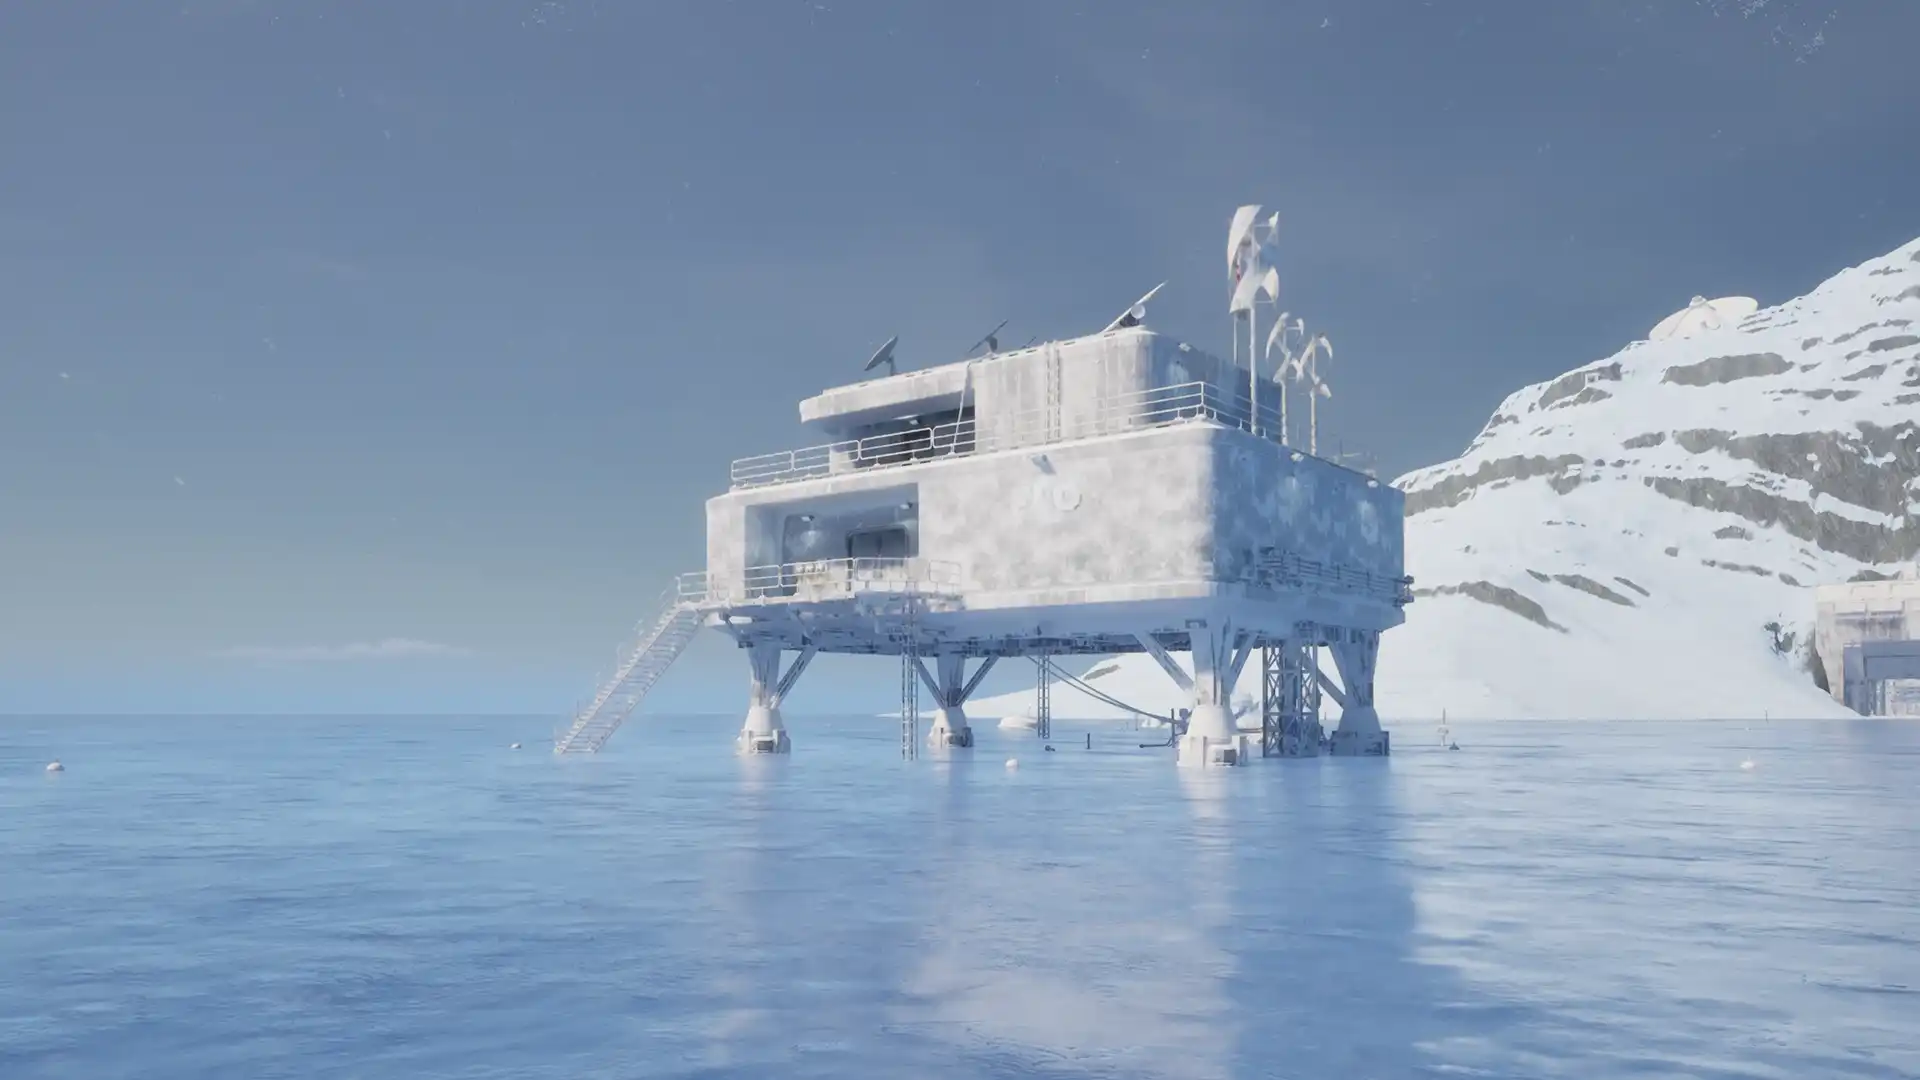
After crossing, you arrive on a small island off the main region. This is also where you find the first outpost, Outpost A. Prioritise heating here before continuing to North Bastion itself.
Connecting methane, fresh water and steam
The basic heating setup is straightforward: the FLO BH-60 Boiler needs methane and fresh water. It produces steam, which you feed to the heaters through Gas Cables.
- Methane: The new Methane Extractor is beneath the outpost.
- Fresh water: The water supply is inside the outpost. Add a Water Purifier, because seawater must be purified before going into the boiler.
- Power and cables: This is where your battery, Electric Cables, Water Cables and Gas Cables come in.
Connect the power supply, provide fresh water, bring methane to the boiler and then feed steam to the heater.
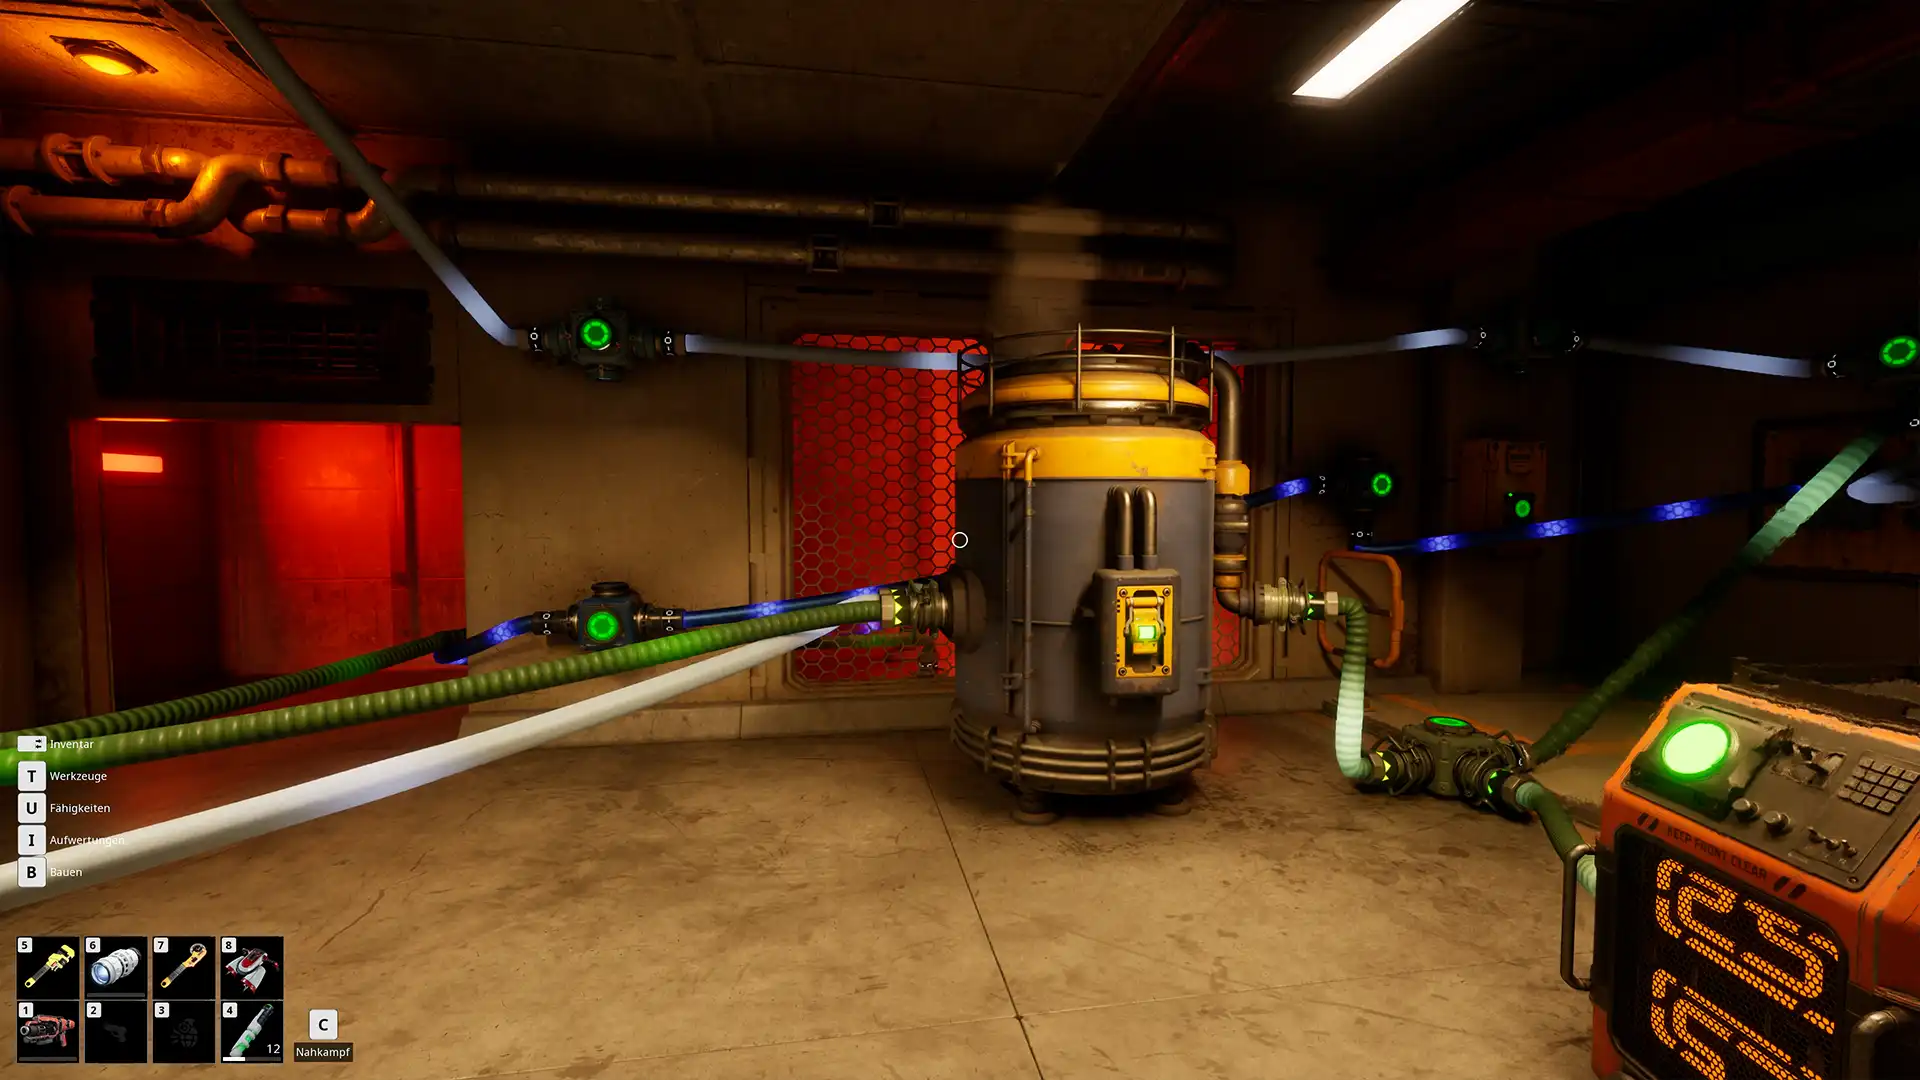
Heat also lets you clear ice blockages on doors or switches. The Flamethrower is another useful way to free doors from ice.
A small heater to take with you
You can strap a FLO TH-5 Local Heater to your back. Heat it using the outpost’s steam supply first, then take it with you.
It does not immediately go cold when you disconnect the cable: the stored heat continues to protect you for a while. It will not last forever, though – heat the heater again before longer journeys.
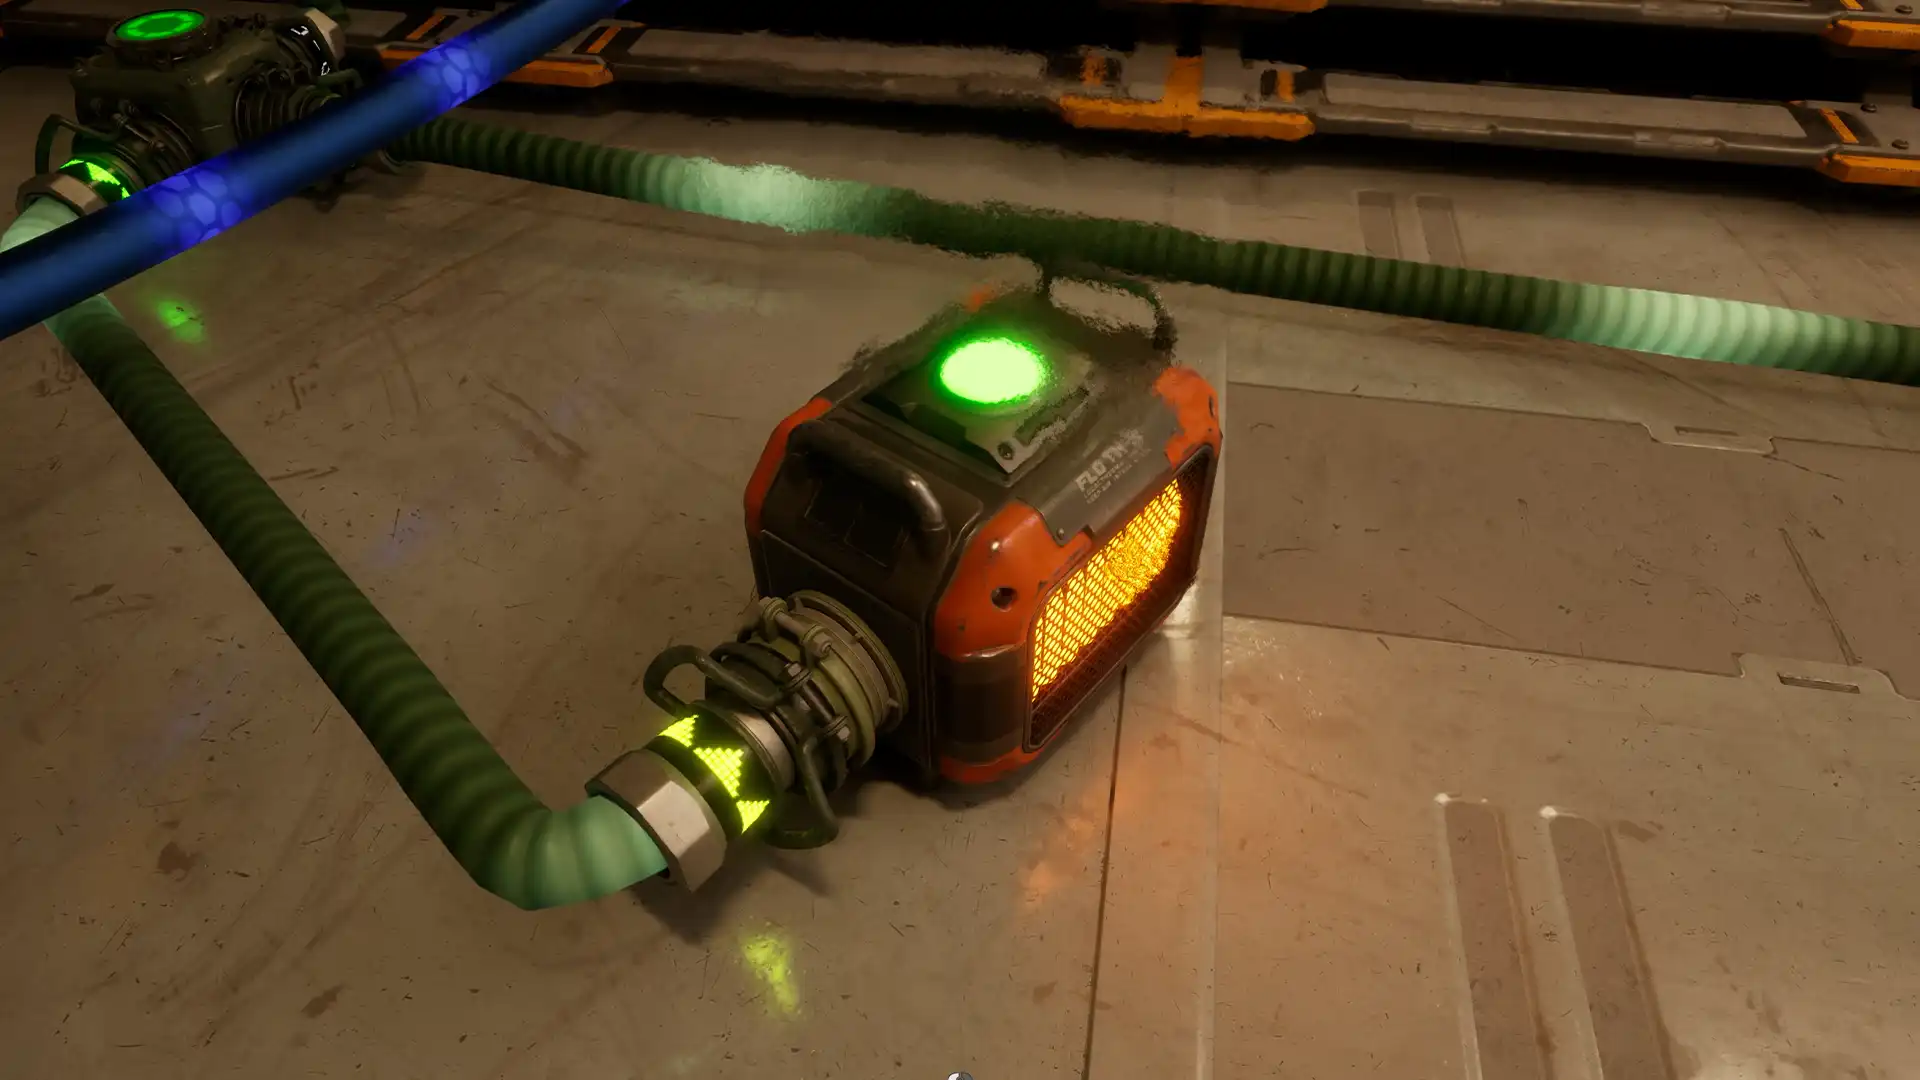
You do not need to take it off every time you reheat it. You can connect the steam supply while the heater is on your back. If you are working or looking around near a connection, you can leave it attached.
Using the Salvage Gyro in the cold
I tested whether wearing the heater also helps while flying: in my test, it let me use the Salvage Gyro.
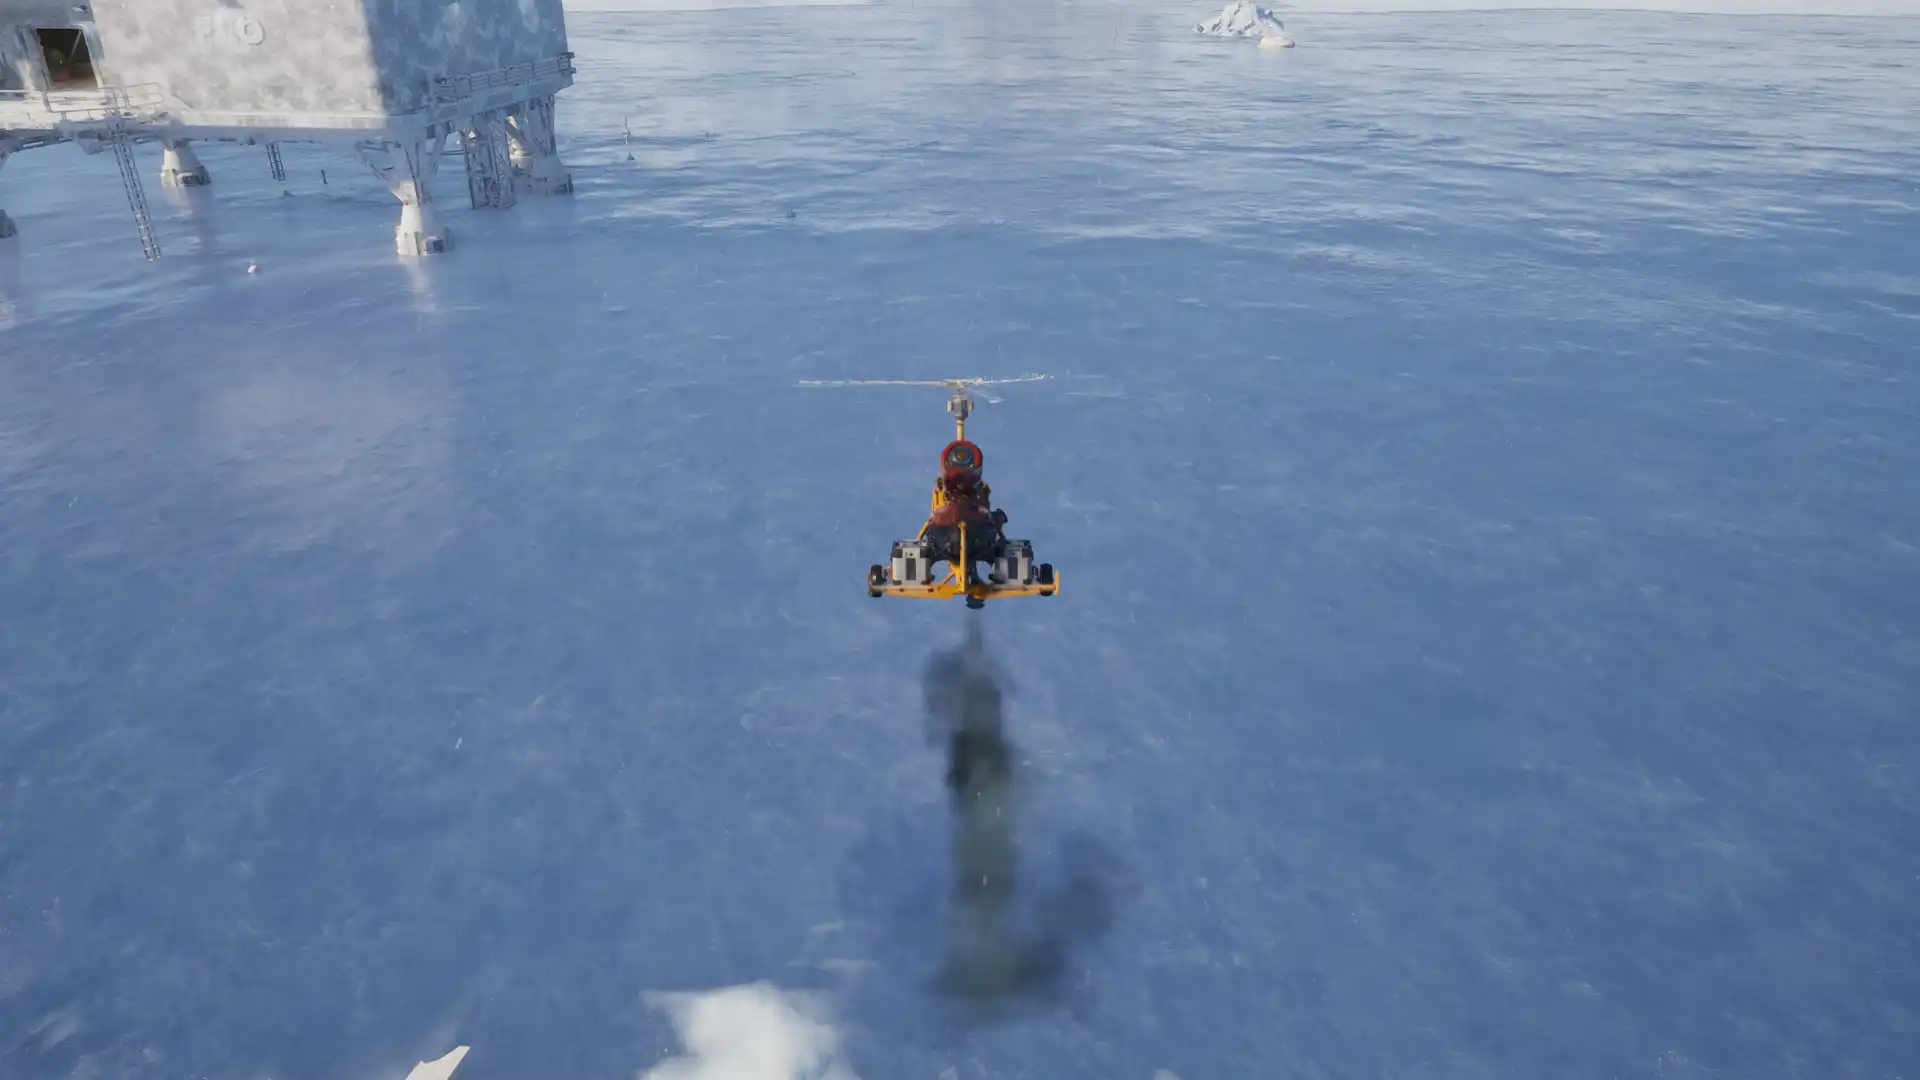
It is not entirely worry-free. Moving too quickly can still cause the Salvage Gyro to freeze. Fly carefully and heat the small heater again before taking off.
From the outpost to North Bastion
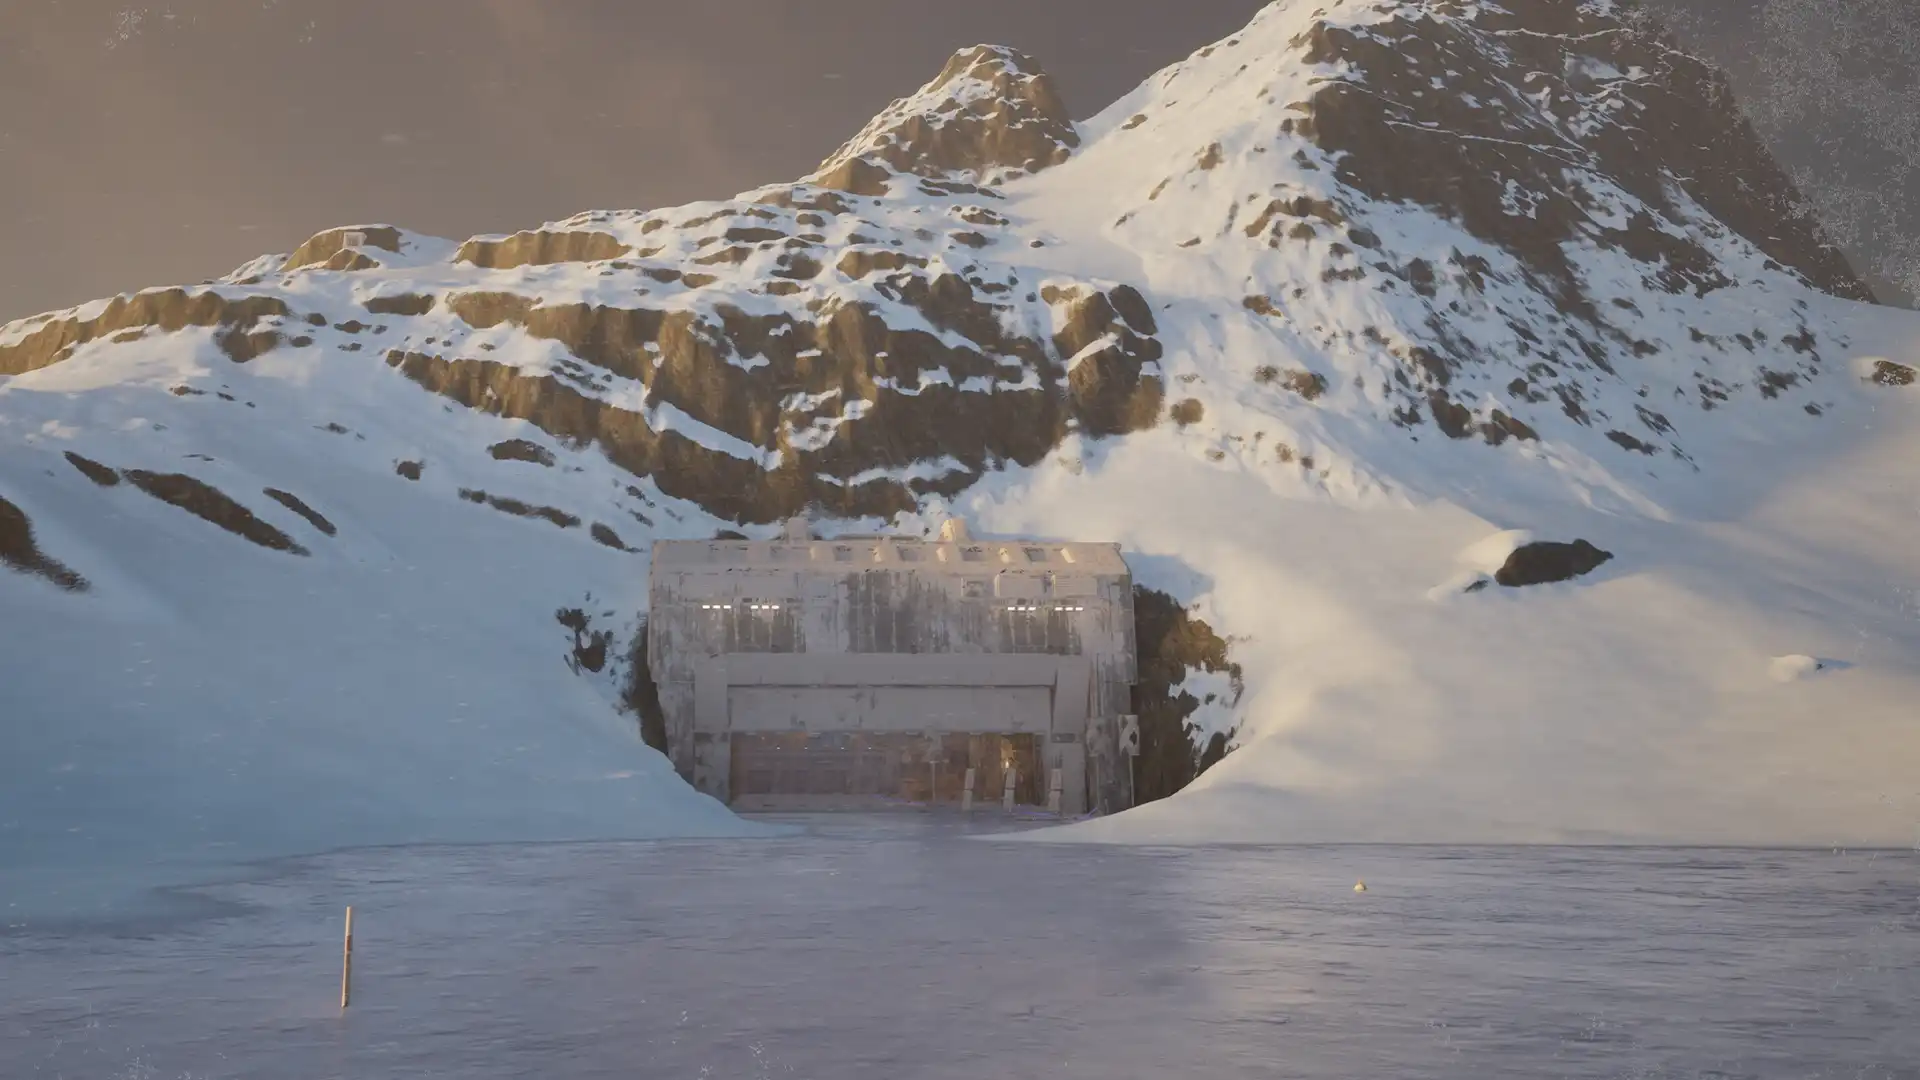
Once your utilities are running and you can stay warm on the move, it is time to continue: cross the ice from the portal island to reach North Bastion’s large dock.
At the end of the dock, you will find a room you can use as a base. Leave your equipment there and set up your utilities.
Supplying the facility section by section
Before you can continue inside, you first need to restore power and steam in the front section. This also supplies your room and lets you reheat the small heater.
North Bastion has existing steam connections. Once the boiler is connected, you can draw steam from other connections within the supplied area.
The front section does not automatically supply all of North Bastion. In the rear section with the lift, you need to provide power and steam again.
For your first visit, think of it in this order:
- Set up your first heating supply at the outpost.
- Establish a base at the dock and supply the front section.
- As you move further in, supply the rear section with the lift.
The individual puzzles and quest steps are left for you to discover. The main thing is to plan your utilities section by section.
The key tips to remember
- Prepare your equipment before opening the portal. The available time depends on the charge.
- Pack all three cable types: Electric Cables, Gas Cables and Water Cables.
- Bring a selection of all resources as reserves, especially plenty of Iron and Plastic. You need those two most often; ready-made cables alone may not cover your build.
- Plan fresh water for the boiler. Seawater needs a Water Purifier.
- Wear the small heater on your back and reheat it regularly.
- Stay careful with the Salvage Gyro. The portable heater does not prevent every instance of freezing.
My most important advice: plenty of cables and building materials, together with the small heater, make your first trips much more comfortable.